uncategorized
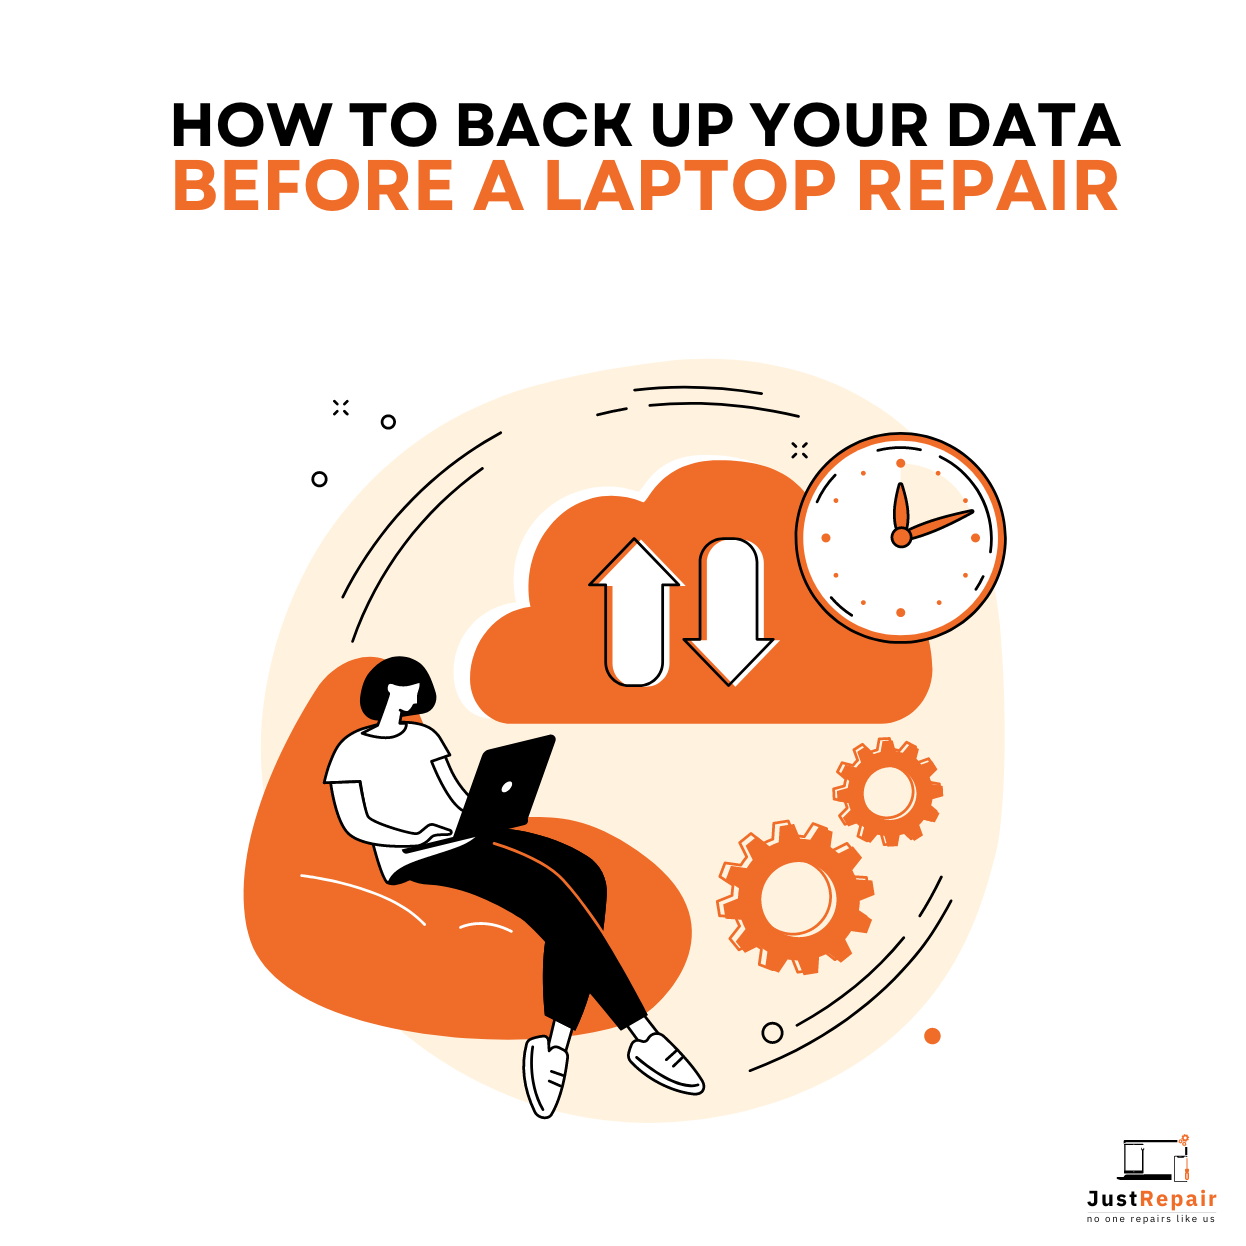
How to Back Up Your Data Before a Laptop Repair
Just Repair
Published September/06/2024
Just Repair
Published September/06/2024
Are you concerned about your data backup before it goes for repair? Welcome, you've arrived at the correct place. It is essential to ensure that your data is securely backed up before sending your laptop in for repair when it experiences issues. Losing any kind of data, important papers, treasured pictures, or crucial work files can be terrible. In addition to shielding you against inadvertent loss, backing up your data provides peace of mind during the repair procedure. This post will walk over the best practices and techniques to efficiently back up your data.
Why Backing Up Your Data is Essential
Before delving into the how-tos, let me explain why backing up your data is absolutely crucial. Hardware breakdown, inadvertent deletion, or even data corruption during repairs are just a few of the several causes of data loss. Having a backup will enable you to swiftly restore your files and carry on working without major interruption.
Furthermore, some repair procedures could call for wiping the hard disk of your laptop, particularly if the operating system has to be rebuilt. You run the danger of losing anything kept on your laptop without a copy. Thus, a little investment of effort to backup your data will help you avoid significant problems.
Choosing the Right Backup Method
There are various ways you might backup your data. Your needs, the volume of data you must back up, and the resources at hand will determine the correct decision. The most often used and dependable backup techniques are these:
1. External Hard Drives
Because of their great capacity and simplicity of use, external hard drives are a common choice for backing up data. They let you safely retain a lot of data and are portable.
To backup your data from your laptop, use a USB cable to connect it to an external hard drive. Once linked, you may hand-copy and paste your files and directories onto the disc. As an alternative, you might use backup software, which automates the process and ensures that all of your data is preserved safely.
2. USB Flash Drives
For backing up smaller volumes of data, USB flash drives, also called thumb drives, are a handy choice. Their portability and simplicity make them perfect for keeping important files and papers.
Just plug your data into a USB flash drive and straight into the USB socket of your laptop. Copy and paste the files you wish to backup onto the HDD. Flash drives are better suited for backing up important files than vast volumes of data due to their limited storage capacity.
3. Cloud Storage Services
Cloud storage services offer dependable and accessible methods of data backup. They let you keep your data online, granting access from any device with an internet connection. Among the well-known cloud storage systems are Google Drive, Dropbox, OneDrive, and iCloud.
Create an account with your selected service and install the required program on your laptop to use cloud storage. After that, you can upload your data to the cloud so that, if your laptop runs into problems, it remains safe and easily available. Most cloud services provide a fixed free storage capacity; further space is charged for.
4. Network Attached Storage (NAS)
Another choice for backing up data, especially for consumers with more storage demands, is network-attached storage (NAS) devices. Linked to your home or business network, NAS systems let several users access and save data.
Connect your data to a NAS device, then set it up with the given program to support it on a NAS device. Once configured, you may move your files to the NAS so they are safely kept and easily available from other devices on the network.
Preparing for the Backup Process
Prepare your laptop and file your data before starting the backup process. Following these guidelines guarantees a clean and effective backup:
1. Organize Your Files
Organizing your data into folders will help you find what has to be backed up. Sort your files—including pictures, movies, papers, and other materials—into groups so that nothing vital is missed.
2. Remove Unnecessary File
Use the chance to tidy your laptop by wiping away all data and programs you no longer require. Eliminating pointless data not only creates space but also lessens the backup process's time needed.
3. Check for Malware
Run a malware scan with trustworthy antivirus software first, then back up your data. This stage guarantees that no harmful files included in your backup compromise your data or equipment.
4. Ensure Sufficient Storage Space
Whether you use online storage, USB flash drives, or an external hard drive, be sure you have adequate capacity to hold all of your critical documents. Use several devices or change your storage plan if needed to fit your data.
Step-by-Step Backup Guide
It's time to begin the backup procedure now that you have prepared your laptop and selected a backup strategy. Use these guidelines to guarantee the safe backing up of your data:
External Hard Drive Backup
Connect the Drive: A USB cable will let you plug your external hard drive into your laptop.
Open File Explorer (Windows) or Finder (Mac): Get to the files and folders you wish to backup.
Select and copy: Choose the files and folders you want to backup, right-click and select "Copy."
Paste to External Drive: To move your files, open the external hard drive in File Explorer or Finder, then right-click and select "Paste."
Verify Backup: Once the transfer is finished, check that every file has been exactly replicated to the external disc.
USB Flash Drive Backup
Insert the Flash Drive: Plug the Flash Drive into the USB port of your laptop.
Open File Explorer (Windows) or Finder (Mac): Get to the files and folders you wish to backup.
Select and copy: Choose the files and folders you want to backup, right-click and select "Copy."
Paste to Flash Drive: To copy your files, open the flash drive in File Explorer or Finder, then right-click and select "Paste."
Verify Backup: Once the transfer is finished, confirm that every file has been exactly replicated on the flash device.
Cloud Storage Backup
Sign In to Cloud Service: Sign in to your cloud storage account from your web browser or app.
Upload Files: Choose and upload the files and folders you wish to backup using the "upload" or "add files" option.
Organize Files: Create folders on your cloud storage to help you arrange your data.
Verify Upload: Once the upload is finished, confirm that your cloud account shows all accessible files.
Network Attached Storage (NAS) Backup
Connect to NAS: Make sure your laptop runs on the same network as your NAS device.
Access NAS: Access the NAS interface using either your web browser or the supplied program.
Transfer Files: Choose and move files from your laptop to the NAS using the file transfer capability.
Verify Backup: Check to be sure every file on the network is accurately copied to the NAS and available from other devices.
Best Practices for Backup Security
The only part of the procedure is backing up your data. Equally crucial is ensuring your backups' security. These are some recommended guidelines to maintain the security of your backups:
Use Encryption
Use encryption to safeguard your information if your backup system lets you. Encryption guarantees that only authorized individuals will have access to your files, and they remain safe.
Regularly Update Backups
Frequent backups of your data will help you guarantee the most current version of your files. Depending on your requirements, plan regular backups, either weekly or monthly.
Verify Backups
Check that your data is complete and accessible following every backup. Review your backups often to be sure they are operating as they should.
Use Multiple Backup Methods
Make several backups for extra protection. Combining cloud storage with external hard drives, for instance, guarantees your data is protected even if one approach fails and offers redundancy.
Store Backups Securely
Store your physical backup devices, such as external hard discs and USB flash drives, in a secure place. Shield them against environmental risks, theft, and destruction.
What to Do If You Encounter Backup Issues
You may run into problems during the backup procedure, notwithstanding your best attempts. If you run across typical backup issues, use this guide:
Insufficient Storage Space
If you run out of capacity, think about changing your storage strategy for cloud services or employing several devices for physical backups. Eliminating pointless files will also help to clear up space.
Slow Backup Speed
Device performance, internet connection, and file size all have a bearing on backup speed. Close extraneous apps, backup files in smaller batches, guarantee a consistent internet connection, and increase speed.
File Corruption
If file corruption arises during the backup process, confirm your data before beginning the backup. To lower the corruption risk, use dependable backup methods and programs.
Incomplete Backup
Check your backup program for error signals or alerts if your backup is lacking. Fix any problems, then try the backup once again. Check your backups often to be sure they are whole.
Conclusion
Protecting your priceless data depends first on backing up your laptop before it is sent for repairs. Following the best standards and selecting the appropriate backup technique will help you guarantee that your data is safe and easily available. Whether your data is stored on external hard drives, USB flash drives, cloud storage, or NAS systems, spending some time to backup it will help you avoid any loss and give you peace of mind during the repairs. This all-inclusive tutorial will help you confidently and quickly backup your data.